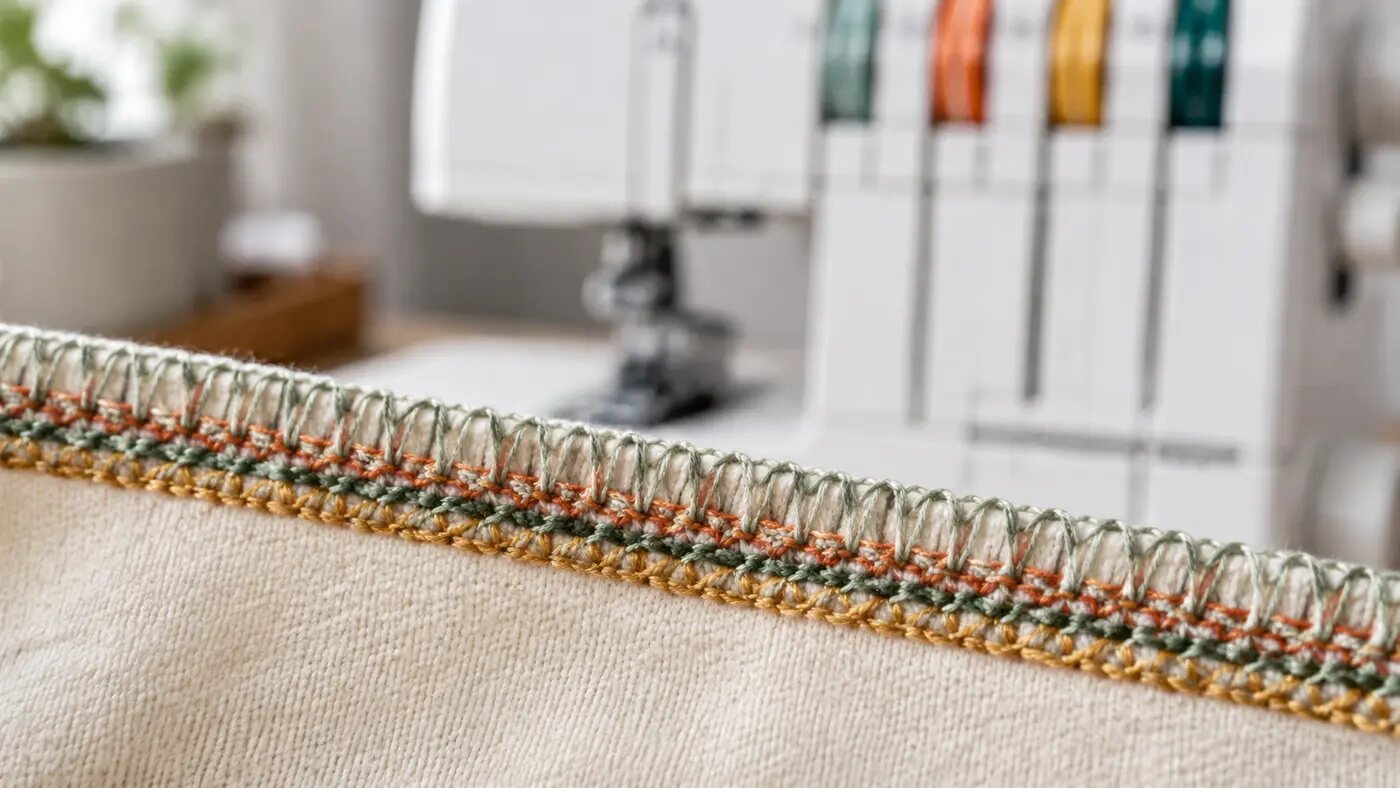
1. Photograph the starting settings
Before adjusting anything, record the tension dials, stitch length, cutting width and differential-feed setting. Keep the test sample. This gives you a route back and stops troubleshooting becoming a tour of every possible setting.
2. Rethread in the specified order
Incorrect threading often looks like a tension fault. Remove the threads and follow the diagram for your exact model. Raise the presser foot when the manual instructs so the threads can enter the tension system, then confirm every guide visually.
3. Check needles, cones and thread paths
Replace bent, blunt or incorrectly inserted needles with the type and size specified for the machine and fabric. Check that each cone unwinds freely and that no thread is trapped beneath a cone, stand or cover.
4. Read where the stitch has moved
Compare the sample with the balanced stitch shown in the manual. Look at where the looper threads meet the cut edge, whether the needle threads form secure lines and whether the fabric lies flat. The location of the fault is more useful than turning all four tension dials.
5. Change one variable at a time
Test one small change on two layers of project-matching scrap. Label the sample before changing tension, cutting width, stitch length or differential feed again. If correct threading, suitable needles and standard settings still fail, professional servicing may be more sensible than further random adjustment.
Use the same diagnostic order every time
Record, rethread, check needles, read the stitch and change one variable. This sequence is deliberately calmer than the problem. For the underlying tension principles, use the serger and overlocker tension guide. For the most frequent setup errors, continue to seven common serger mistakes and their fixes.