Free nine-page guide
Take the tension guide with you
Get the visual guide for a balanced-stitch diagram, thread-by-thread troubleshooting, a controlled adjustment process and a printable sample worksheet.
Send me the free guideEnter your email on the next page and we will send the guide link. Ongoing emails are optional and require a separate choice.What a balanced stitch looks like
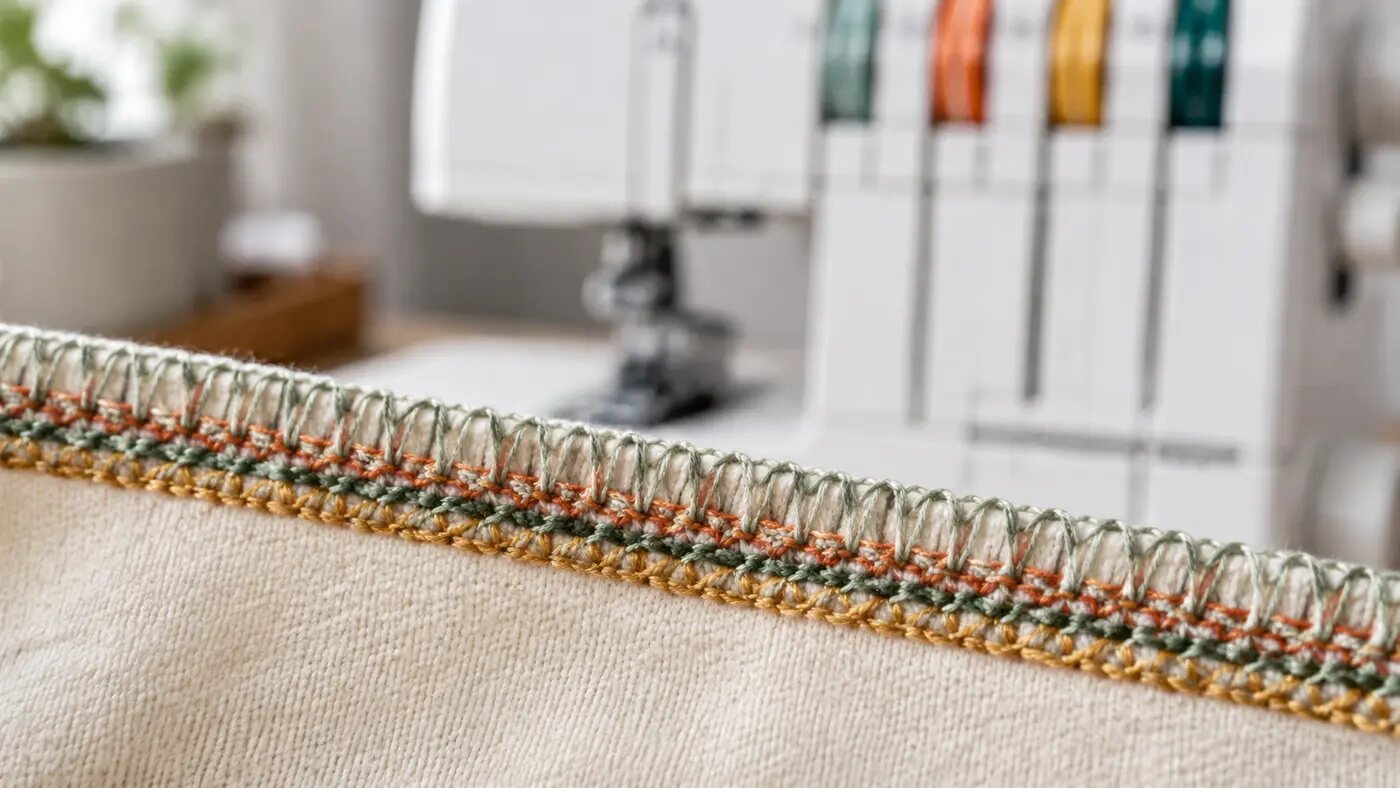
On a typical overlock stitch, the needle threads form secure lines through the fabric while the upper and lower looper threads meet around the cut edge. The seam should lie flat without loose loops, tunnelling, puckering or a stretched, wavy edge.
Use contrasting threads while learning
Thread each path with a different colour that matches the machine's diagram. Sew on a light, stable scrap. This helps you identify which thread has moved away from its intended position instead of turning several dials at random.
Change one variable at a time
- Label the sample with the fabric and starting settings.
- Identify the thread that appears loose, tight or misplaced.
- Make one small change to the relevant setting.
- Sew a fresh sample and compare it with the first.
- Return to the baseline if the result becomes harder to interpret.
Tension is not always the cause
A poor stitch can come from incorrect threading, a worn or incorrectly fitted needle, unsuitable thread, inconsistent fabric feeding, the wrong cutting width or a mismatch between stitch settings and fabric. Check these factors before compensating with extreme tension values.
Keep a sample library
Save successful samples with the fabric type, number of layers, needle, thread, stitch length, cutting width, differential feed and tension settings. Your own labelled samples are more useful than a universal setting copied from a different machine or fabric.
Use a full troubleshooting order for persistent faults
Loose loops, skipped stitches and wavy seams are not always caused by tension. The serger stitch-problems guide checks threading, needles, stitch formation, differential feed and fabric before asking you to change another dial.