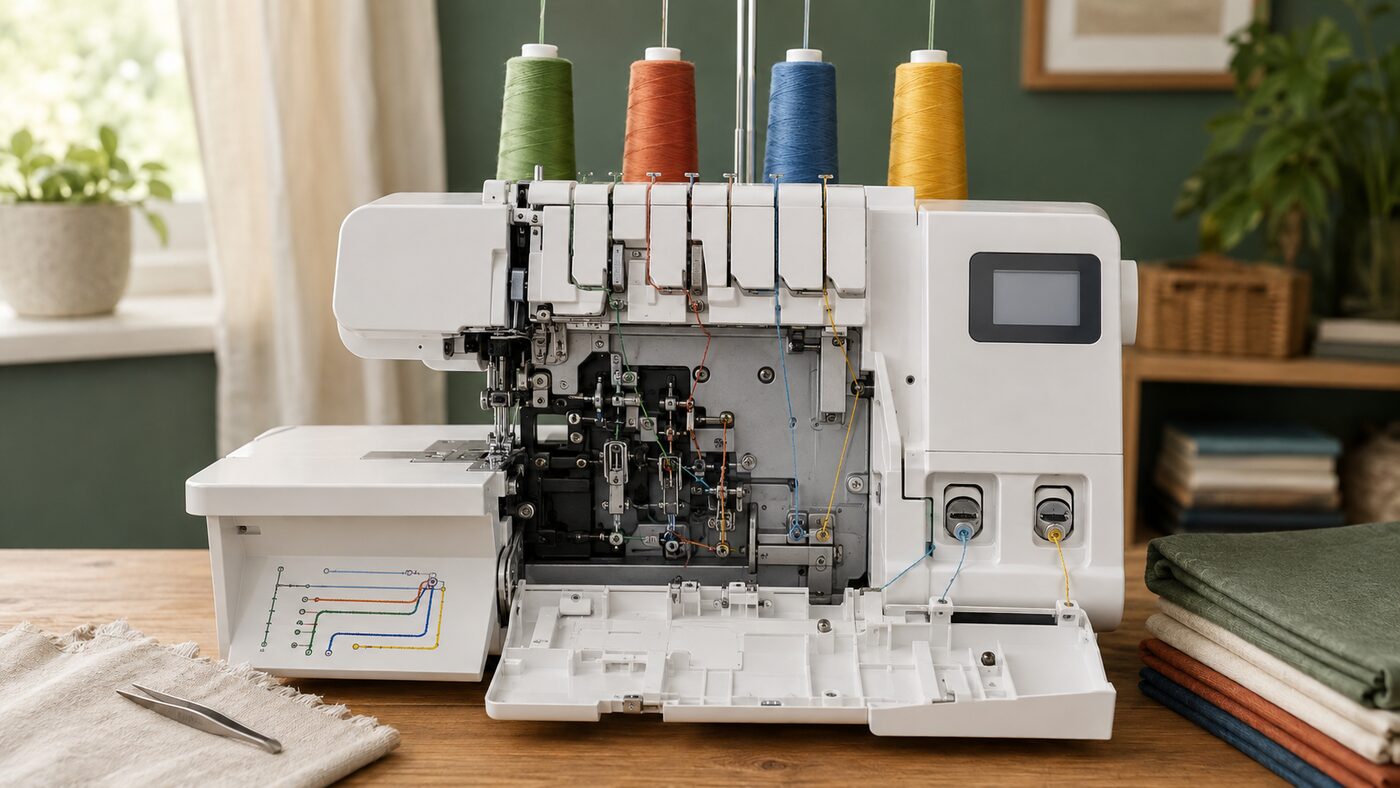
The real progression is less friction, not less skill
A traditional domestic serger asks the user to manage several threads, loopers, needles and tension paths at once. That makes setup look more mysterious than the stitch itself. Manufacturers have gradually reduced that burden with clearer guides, better access, air-powered looper paths, needle threaders and systems that manage thread delivery.
These features do not form a simple ladder from bad to good. A well-designed manual machine may be dependable, affordable and easy to understand. A more assisted machine may be worth the extra cost when limited dexterity, eyesight or repeated colour changes make conventional threading a genuine barrier. The useful question is not “How modern is it?” but “Which part of serging does this feature make easier?”
Four practical levels of assistance
Colour-coded manual threading
What changes: Coloured dots, lines and diagrams make a multi-thread path easier to follow.
What remains: You still guide every thread through the correct tension discs, guides, loopers and needles in the specified order.
Assisted looper access
What changes: Movable or guided lower-looping mechanisms reduce the most awkward part of the path.
What remains: The machine is still manually threaded, and the model-specific sequence still matters.
Air-threaded loopers
What changes: Thread is placed into a port and carried through a looper tube by a burst of air.
What remains: Needles may still need separate threading, and the machine must be set correctly before the air system will operate.
Needle and tension assistance
What changes: Needle threaders, automatic thread delivery or suggested settings remove more setup decisions.
What remains: Fabric, stitch choice, differential feed, cutting width and presser-foot pressure can still require judgement and testing.
Stage one: a visible path through a complex machine
Colour coding is the foundation of most entry-level machines. Each thread is assigned a colour, repeated across the diagram and the physical guides inside the machine. Lay-in tension paths also let the thread drop into an open channel instead of being wrapped around a tension control.
This is still full manual threading. The user must position the controls as instructed, follow every guide and respect the manufacturer’s threading order. If a lower-looper thread is incorrectly routed, the stitch may fail even though the path looks almost right.
Manual threading has one educational advantage: it makes the relationship between each cone, tension path, looper and needle visible. For a patient beginner, that understanding can make later troubleshooting less intimidating.
Stage two: make the hardest looper easier to reach
The lower looper is commonly the most awkward part of a conventional path. Assisted mechanisms expose, move or guide that section so the user is not trying to place thread deep inside the machine. Brother’s current 2104D, for example, describes its lower-looper system as a threading aid while still using a colour-coded path overall.
This middle category matters because “easy threading” does not always mean air threading. Product descriptions may refer to an easy threader, lower-looper aid or simplified guide. Buyers should check which thread paths are actually assisted and which remain manual.
Stage three: air carries thread through the loopers
An air-threading system replaces the enclosed section of the looper path with tubes. The user places thread into a port, prepares the machine as directed and activates a lever or button. Air then moves the thread through to the looper tip.
The mechanism varies. Baby Lock’s Victory uses its JetAir system and states that its loopers can be threaded without a prescribed sequence. Janome’s AirThread 2000D uses a one-push air system for the upper and lower loopers. Brother’s AIRFLOW 3000 uses electronic air threading and still distinguishes looper threading from its separate needle-threading assistance.
That distinction prevents a common misunderstanding: an “air-threaded serger” is not necessarily a machine that threads every needle and guide by itself. Air assistance normally targets the loopers. The cones, initial guides and needles may still need user input.
Stage four: reduce tension and setup decisions
Threading is only one source of uncertainty. Some machines also use automatic thread delivery rather than asking the user to choose a numbered tension setting for every thread. Others present stitch setup or suggested tension information on a screen. Juki’s MO-2000 QVP, for example, combines air looper threading with an LCD screen that displays setup information for different stitches.
Automatic tension and automatic thread delivery are not interchangeable marketing terms, and neither removes the need to make a test sample. Fabric thickness, stretch, thread, cutting width and differential feed still affect the finished seam. The value of the system is that it can provide a more consistent starting point.
Other changes were just as important
Threading attracts attention because it is easy to demonstrate, but several quieter developments changed everyday use:
- Differential feed gives the user control over how two feed systems move fabric, helping manage stretching, puckering and deliberate gathering.
- Built-in rolled-hem conversion reduces the parts and reconfiguration once needed for a narrow edge finish.
- Improved lighting and front access make thread paths, needles and cutting areas easier to see.
- Safety interlocks can prevent sewing while covers are open or threading systems are engaged.
- Needle threaders reduce a separate fine-motor task, although their operation varies by machine.
How to compare assistance honestly
Before paying more for a convenience feature, identify the exact obstacle it solves. Ask the dealer to demonstrate a complete colour change, not merely the easiest thread path. Check whether air threading covers both loopers, whether the needles have a threader, whether threading order still matters, and how the machine is cleared if a thread breaks inside a tube.
Then compare service access, warranty, replacement parts and the quality of the manual. A premium threading system is valuable only if the machine can be maintained and supported in the buyer’s own market. That is why The Serger Edge separates US sergers from UK overlockers rather than treating similar-looking regional models as automatically equivalent.
What this means for beginners
If price is the main constraint, a colour-coded manual serger can be a sensible starting point. If threading is likely to stop the machine being used, assisted lower-looping or air threading may be a practical investment rather than a luxury. If repeated setup decisions are the greater difficulty, automatic thread delivery or on-screen guidance may matter more than the threading mechanism alone.
No feature replaces the habits that protect fabric and improve results: use the manual, thread with the presser foot in the stated position, test on matching scraps and change one setting at a time.
For a model-agnostic setup routine, continue to the serger threading-order guide. If a formed stitch still looks loose, uneven or wavy, use the stitch-problems troubleshooting order.