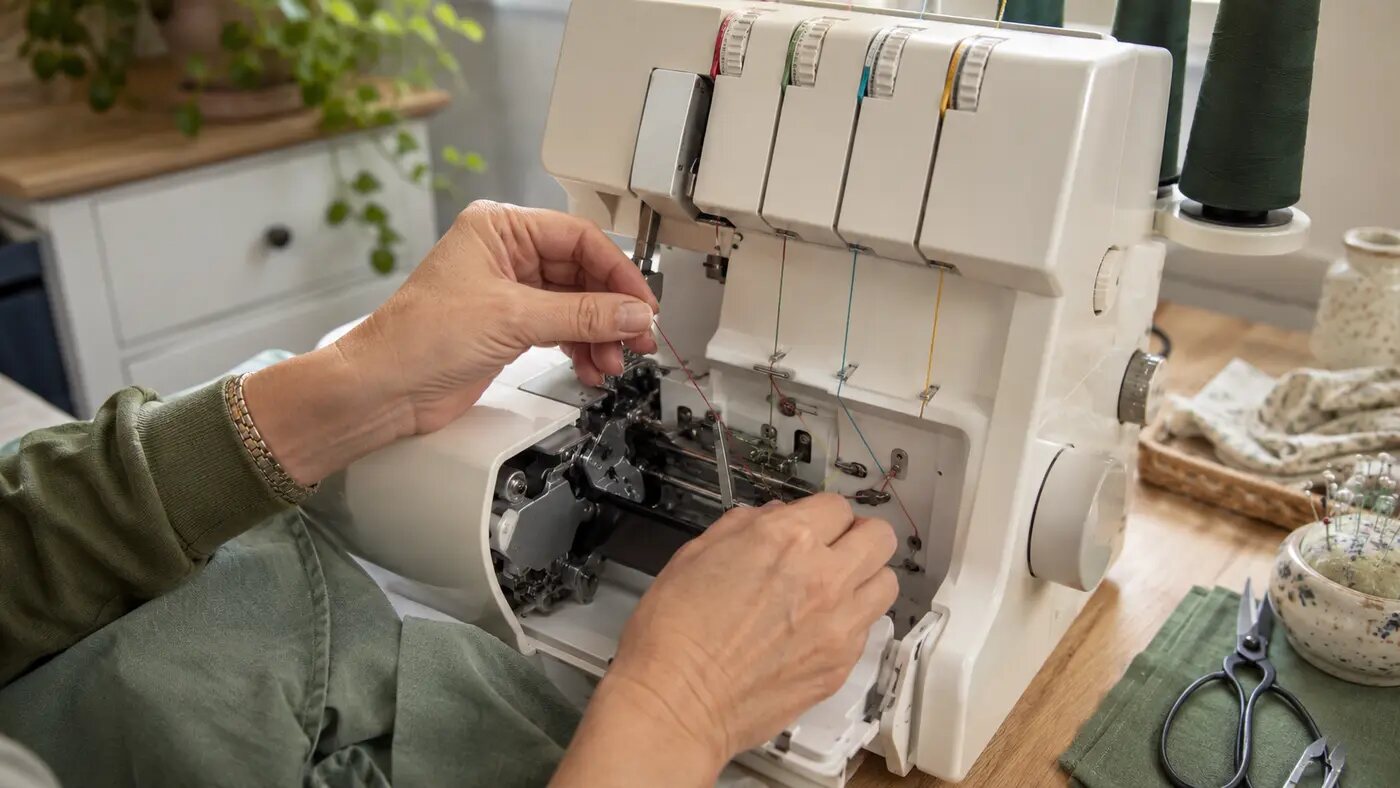
Before removing the old threads
- Find the threading diagram for your exact make and model.
- Take a clear photograph of the current thread paths.
- Raise the presser foot if your manual says this releases the tension discs.
- Place the cones in their labelled positions and pull enough thread to work comfortably.
Use the manufacturer's order
Many overlockers require the loopers to be threaded before the needles, but the precise order is model-specific. Follow the colour coding and numbered sequence on your machine without skipping a guide. A thread that looks close to the right path can still sit outside a tension disc or guide.
Check every contact point
Trace one thread from its cone to its final exit point. Confirm that it passes through every aerial guide, pre-tension guide, tension area, looper or needle guide shown in the manual. Repeat for each colour before moving the handwheel or starting the machine.
Make a controlled test
Leave suitable thread tails, close the covers and return the presser foot to the correct sewing position. Test slowly on two layers of project-matching scrap fabric. Watch the stitch form and stop if you hear an unusual sound, meet resistance or see a thread pull out of its path.
If the chain will not form
- Return all tension settings to the manufacturer's baseline.
- Check the thread order, especially where looper threads cross.
- Confirm that each thread is seated correctly in its tension path.
- Inspect needle orientation, needle condition and the specified needle type.
- Rethread completely if your manual requires it after a thread break.
When the chain forms but the stitch looks wrong
Do not assume that tension is the first fault. Record the starting settings, rethread in the correct order, inspect the needles and identify which thread has moved before changing one variable. Use the serger stitch-problems troubleshooting order, then check the seven common setup mistakes if the same fault keeps returning.